Documentation
Interface Builder
Build user interfaces visually with live preview and property editing.
The Interface Builder is the visual side of the editor: the canvas renders your actual page, and everything on it is a selectable, editable element. Elements are structured data — the same model your PHP methods use — so the UI you build here is just as addressable by agents as your backend code, and assembles to standard Vue templates on export.
Pick a Route First
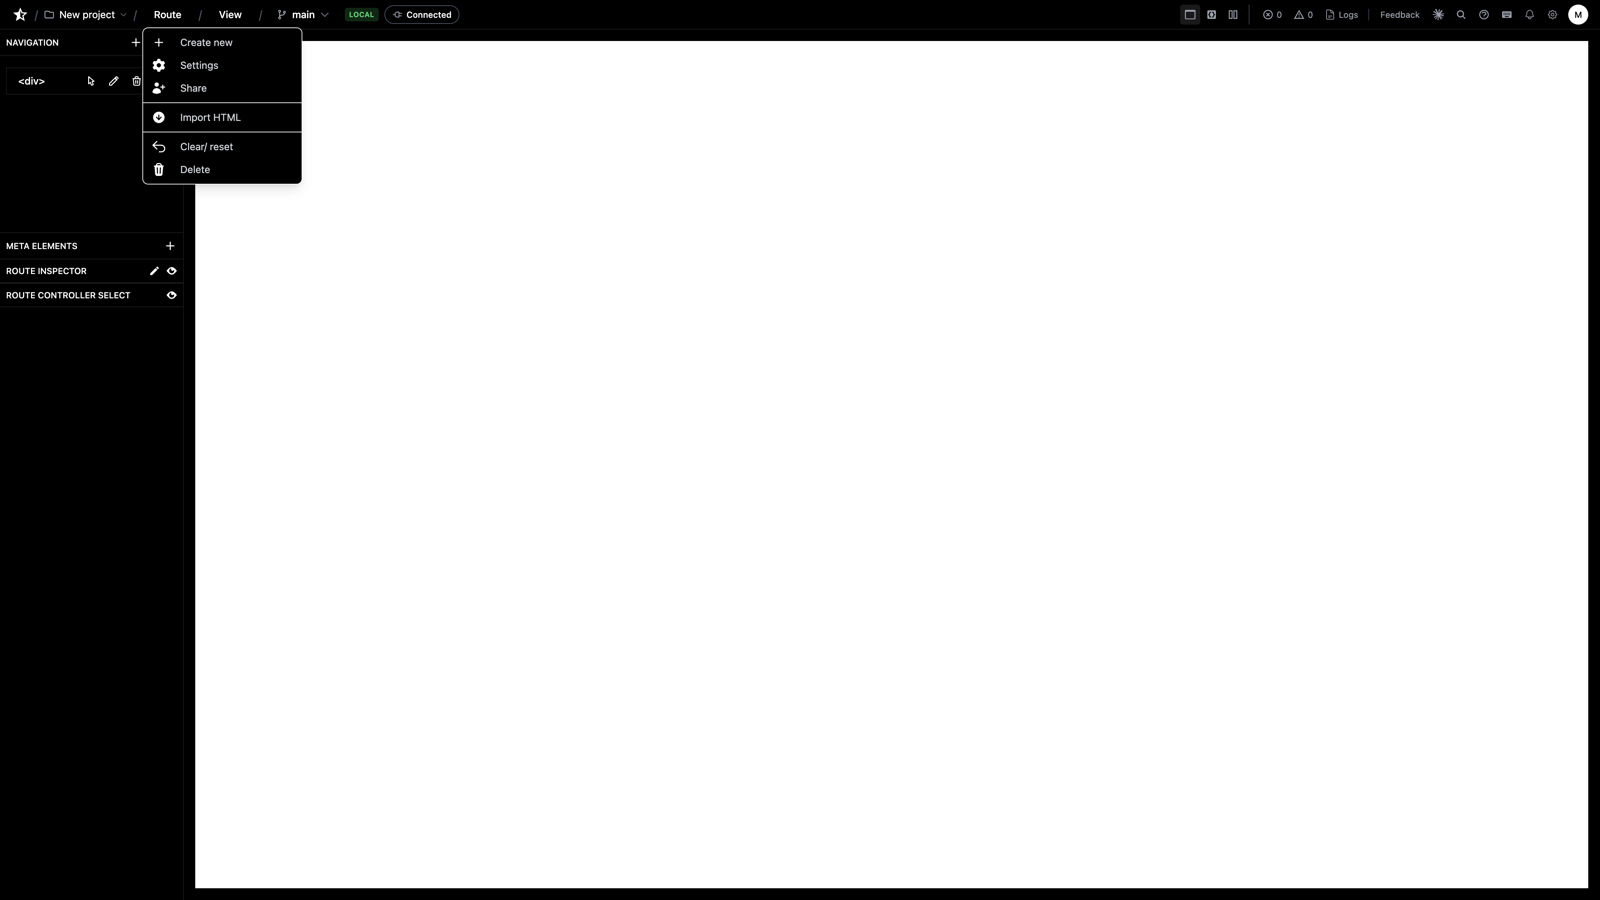
The canvas always shows the route in the address bar. Use the route dropdown to switch pages, create new ones, or open Route Settings to change the path, name, and controller wiring.
Select, Then Edit
Click anything on the canvas to select it — the selection gets a dashed outline, and the element tree highlights its position in the page structure.
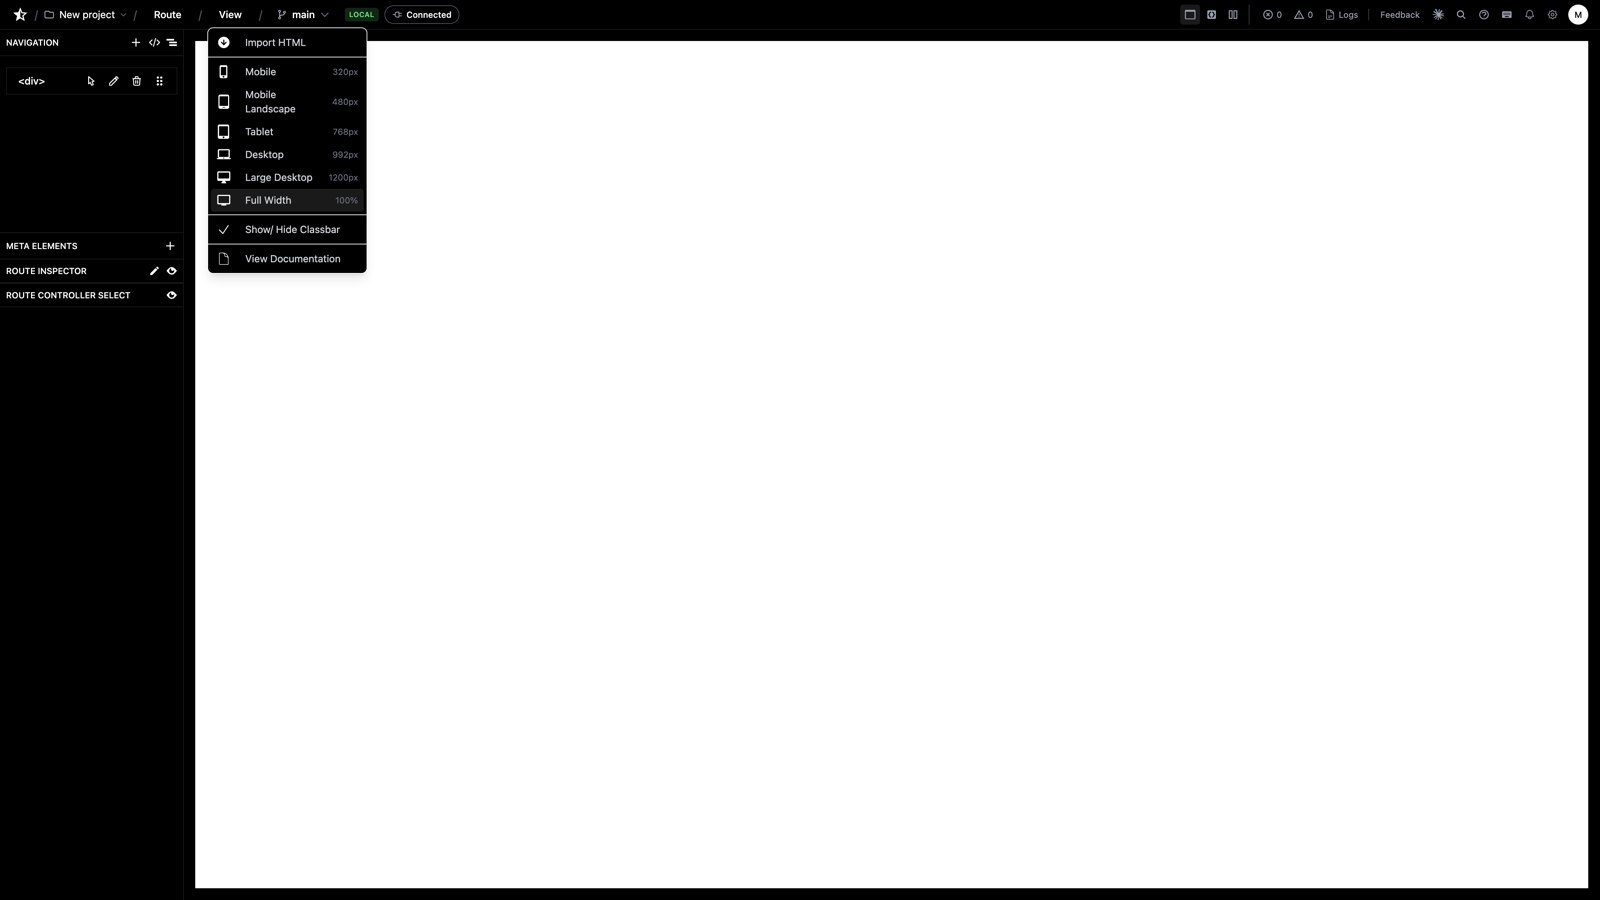
The element tree is the structural view: expand/collapse with ▼/▶, click to select deeply nested elements the canvas makes hard to hit, and drag to reorder. Use the responsive view buttons to check the page at desktop, tablet, and mobile widths as you go.
Adding Elements
Click the plus icon in the element tree — the new element is added as a child of the current selection, so select the container first.
Elements come in five types. The type controls which properties the editor offers you — in the final assembled code it disappears entirely:
| Type | Assembles to |
|------|--------------|
| s-wrapper | Containers: div, section, header, nav… |
| s-input | Form controls: input, button, textarea, select |
| s-form | A form with submit handling wired |
| s-media | img, video, audio |
| s-loop | A repeating element (v-for) bound to an array |
Building a big chunk of UI? Don't click it together element by element — describe it to the agent, or paste existing markup and let html_to_elements convert it. The result is the same editable tree.
Editing Properties
The property panel edits the selected element: its tag, Tailwind classes, text content, and attributes like href and src.
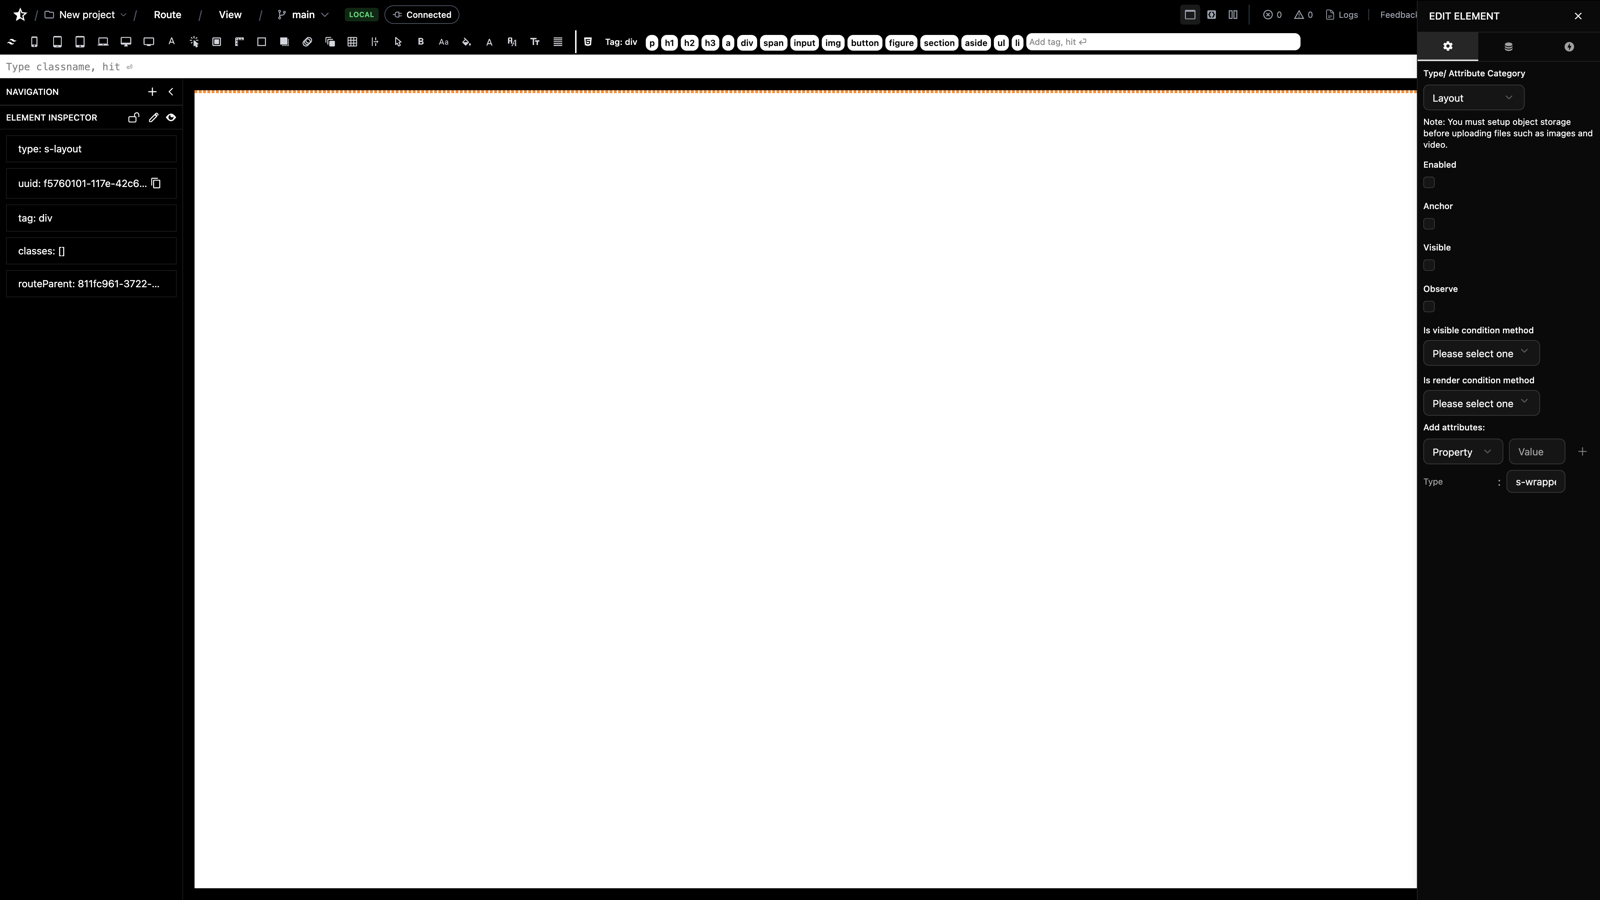
Styling is Tailwind utility classes on the Classes field — change a class and the canvas updates immediately. There's no separate CSS pipeline to manage; the classes you set here are the classes in your exported components.
Wiring Events to Methods
This is where UI meets your code. Select an element, open the Events panel, pick an event (@click, @submit, @input, …), and choose which method it calls — the dropdown lists the methods from the Vue files included on this route.
The method itself lives in the Code Editor — the typical flow is: build the form here, write (or prompt) the handler there, wire the two, then submit the form on the live canvas to test the whole path.
Binding Data
Set an element's text to {{ variable }} to bind it to reactive data. The panel shows which variables are available from the component's script, so you're picking from what exists rather than guessing:
Mixed text like Count: {{ count }} works too — literal runs and expressions are stored separately and reassembled in order. For lists, use an s-loop element bound to an array and design the repeating item once.
Next Steps
- Code Editor - Write the methods your UI calls
- Sharing & Embedding - Put a finished page in front of someone
- Working with AI - Have the agent build UI from a description
- Previous
- Code Editor
- Next
- Version Control